From Inquiry to Onboarding: How to Convert Design Leads Into Paying Clients
Every interior designer loves getting inquiries—but how many of those actually turn into paying clients? If you’re getting leads but not bookings, your conversion process might be missing structure, clarity, or confidence. In this post, I’ll walk you through how to move design leads from their first message all the way to onboarding, using a process that builds trust and sets the stage for a successful client relationship.

1. Respond Quickly & Professionally to Every Inquiry
First impressions matter. When someone reaches out, they’re actively thinking about hiring a designer—don’t let that momentum go cold.
Tips:
Respond within 24–48 hours.
Use a pre-written inquiry response email to stay consistent and save time.
Clearly explain next steps and what they can expect from working with you.
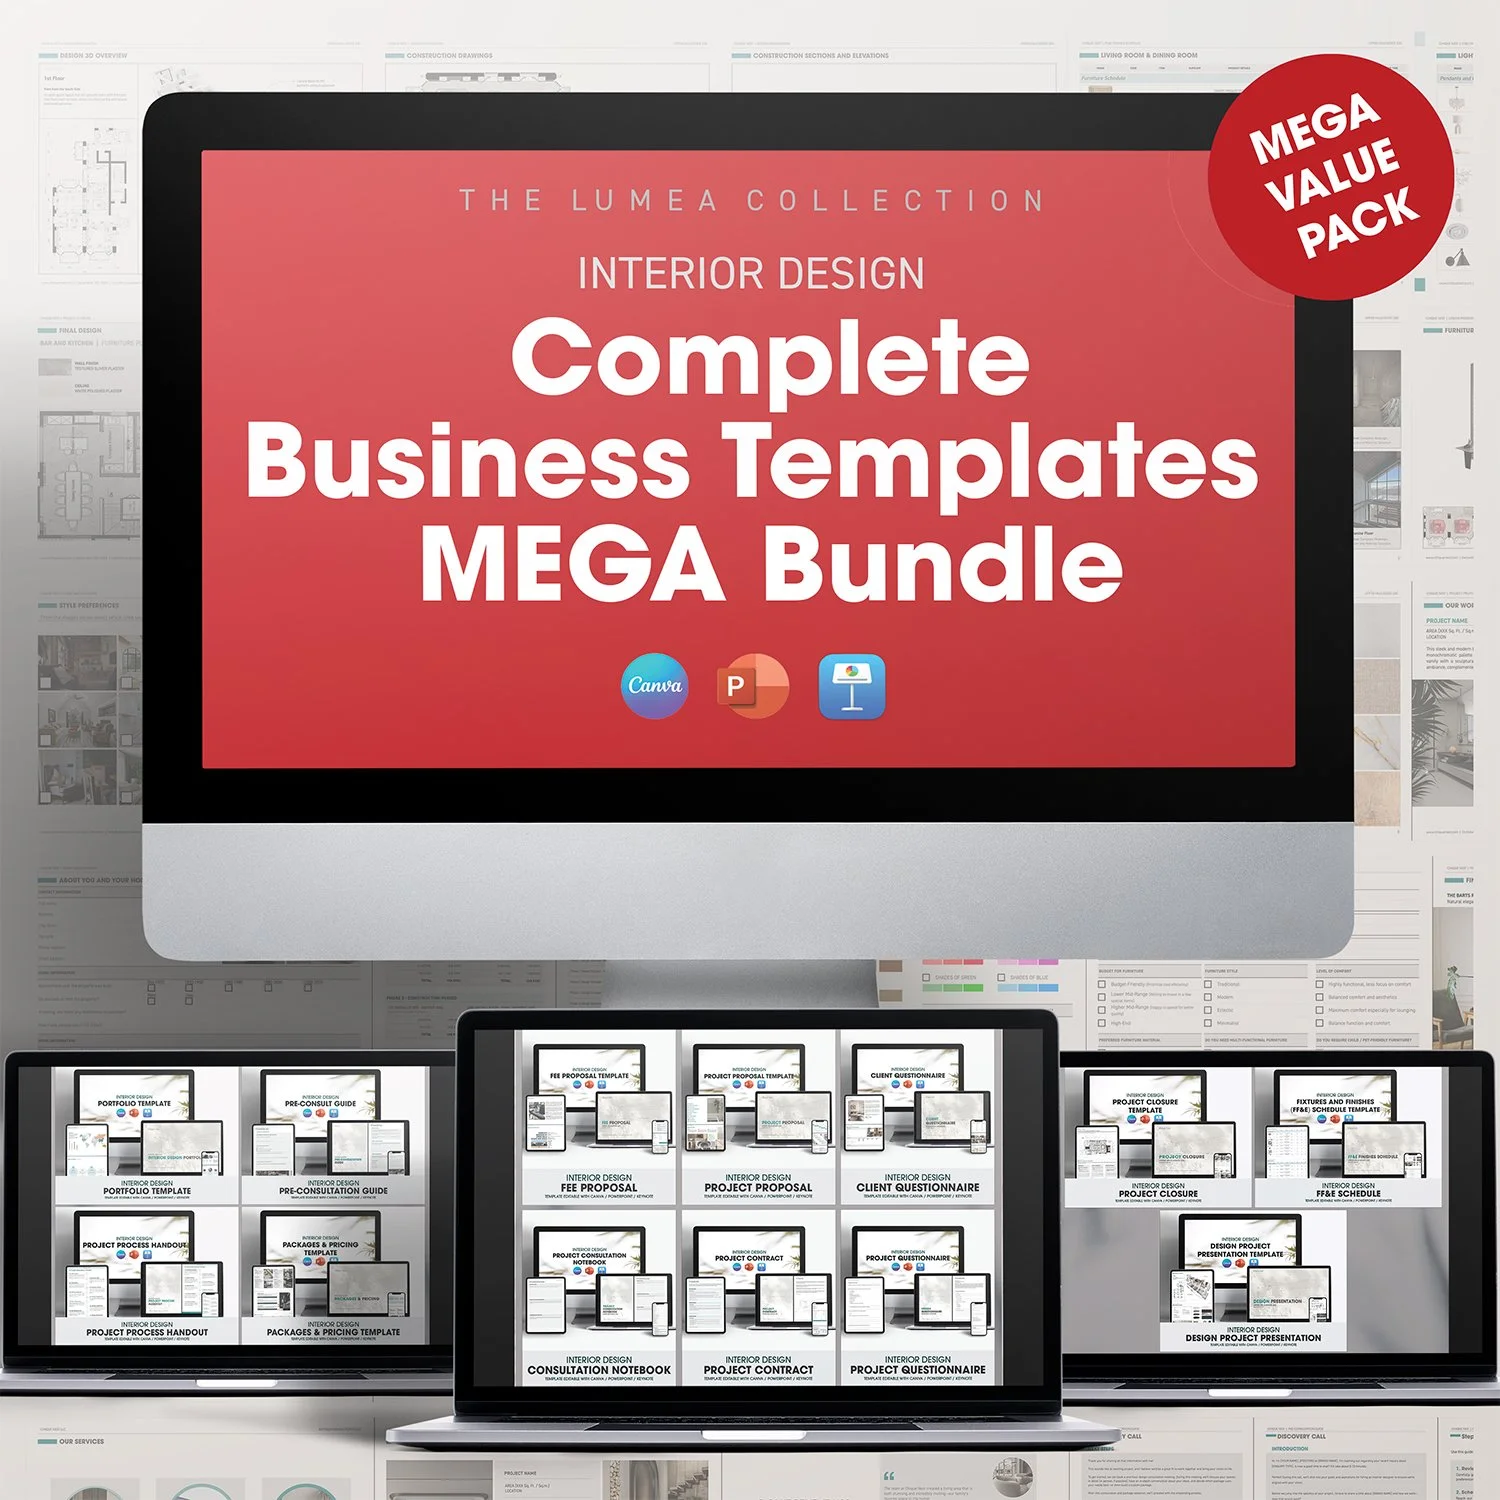
➡️ Use the templates inside the Client Prospecting Pack to simplify this process.
2. Qualify the Lead Before Booking a Call
Not every inquiry is a fit. Before hopping on a discovery call, make sure the project aligns with your services and pricing.
Use a Client Questionnaire to Ask:
What’s the project scope and timeline?
What’s your estimated budget?
Have you worked with a designer before?
What are your biggest design challenges?
➡️ The Interior Design Client Questionnaire Template is perfect for this pre-screening process.
3. Send a Pre-Consultation Guide
Once you’ve confirmed the inquiry is a good fit, send a Pre-Consultation Guide to set expectations before your first paid meeting.
Include:
An outline of your design process
What clients should prepare before the consultation
FAQs and your typical timelines
How you work and what’s included
➡️ Found inside the Client Prospecting Pack, this guide filters out price shoppers and educates clients upfront.
4. Deliver a Structured Discovery or Consultation Call
Whether your initial call is free or paid, structure is key to building trust and closing the sale.
Key Focus Areas:
Actively listen to your client’s pain points and goals
Reiterate how your process solves their problems
Gently introduce your pricing structure
Outline what the next step will be if they’re ready to move forward
➡️ Pair your call with the Interior Design Project Consultation Notebook Template to guide the conversation.
5. Send a Clear, Professional Fee Proposal
After the consultation, don’t wait too long—send your fee proposal while interest is high.
Your Proposal Should Include:
A personalized summary of their goals and project scope
A breakdown of your services and phases
Total investment and payment terms
Timeline and next steps
➡️ Use the Interior Design Fee Proposal Template to make this part polished and persuasive.
6. Follow Up with Confidence
If a client doesn’t respond immediately, don’t panic. A friendly follow-up can make all the difference.
Sample Follow-Up Script:
“Hi [Client Name], just checking in to see if you had any questions about the proposal I sent over. I’d love to get started on your project and have availability starting [insert date]. Let me know if you’re ready to move forward!”
➡️ Customize follow-ups using templates from your Client Onboarding Pack.
7. Onboard New Clients Like a Pro
Pre-made design service packages help streamline inquiries and reduce back-and-Once the client says yes, it’s time to onboard them with clarity and enthusiasm.
Send:
Your design contract
Welcome pack or client guide
First invoice and project timeline
Next steps for the kickoff
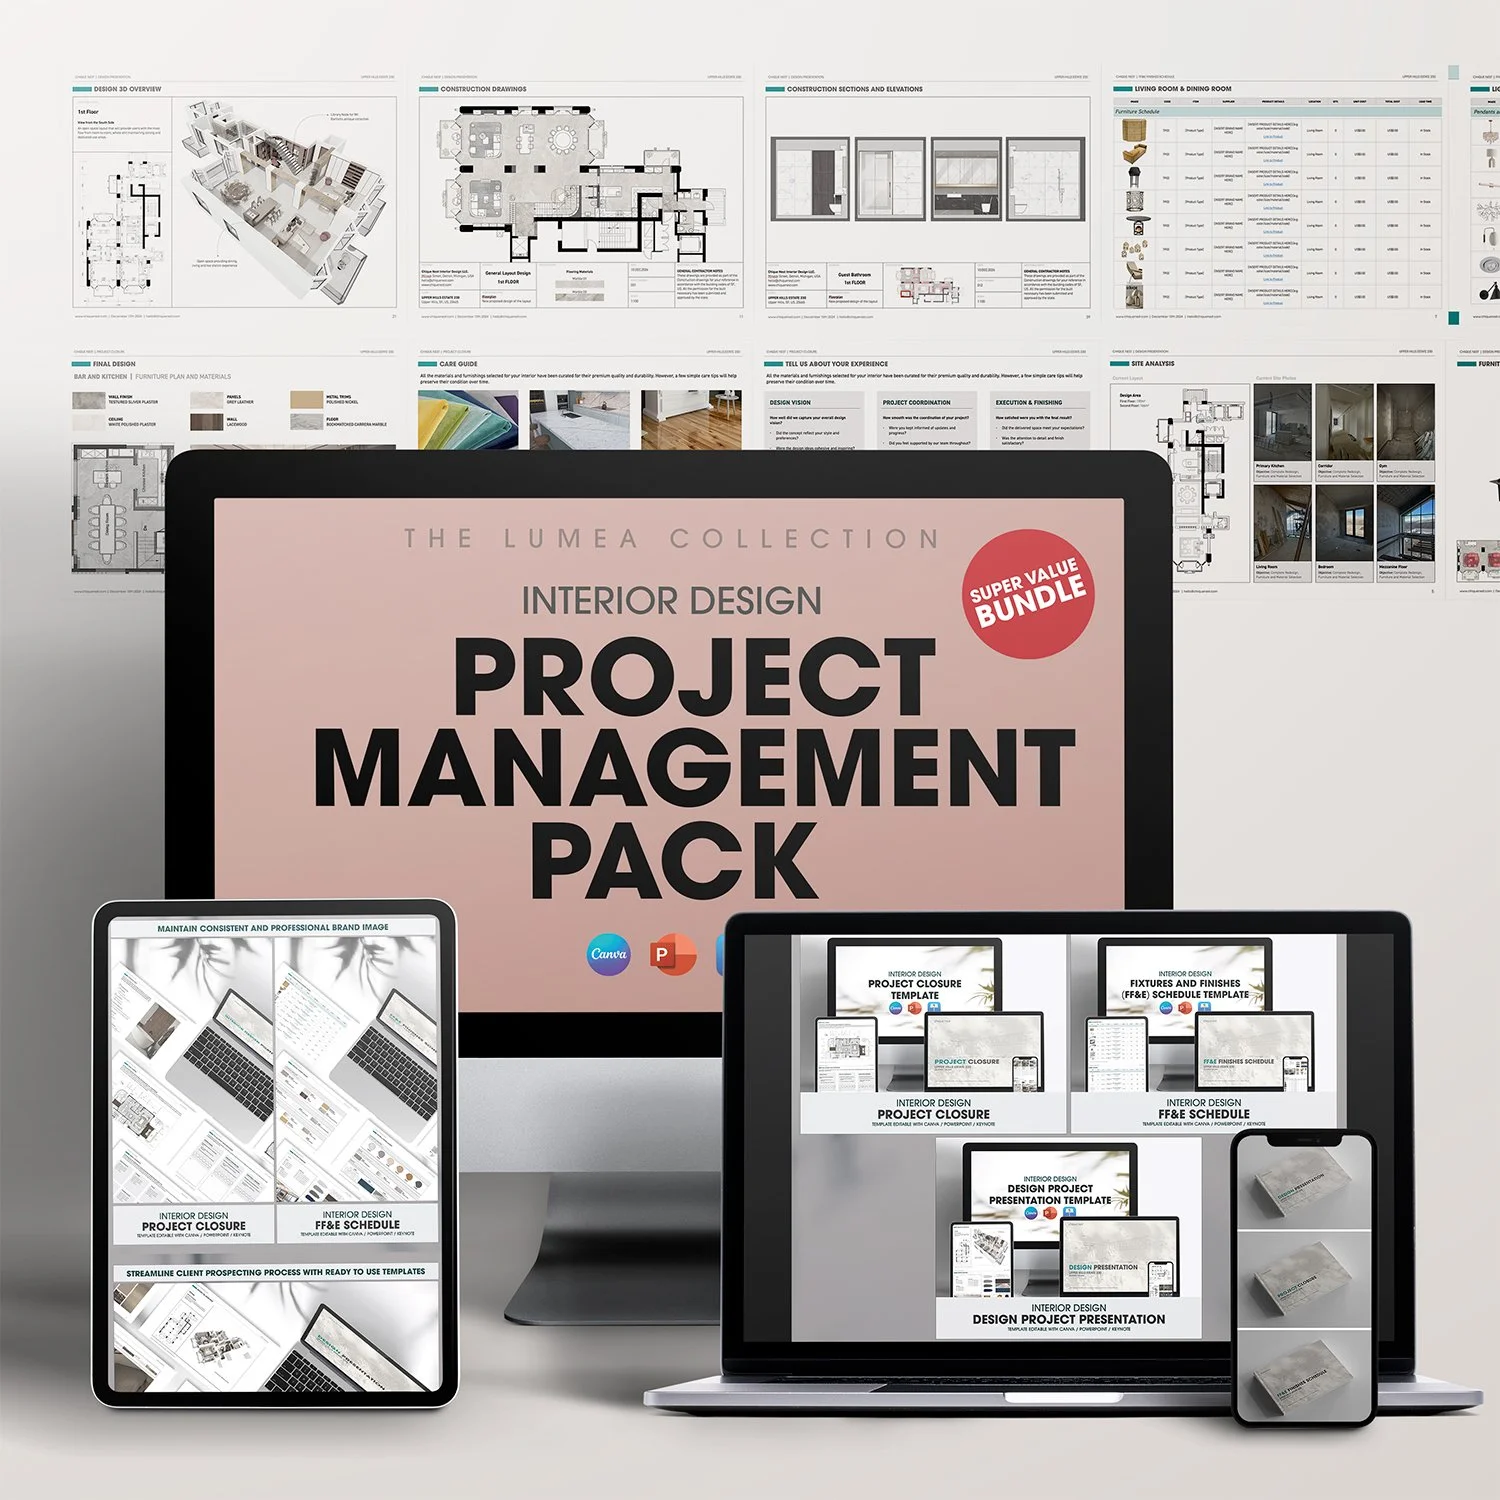
➡️ The Interior Design Client Onboarding Pack includes everything you need to start strong.
Turning a design lead into a paying client isn’t about being pushy—it’s about building trust, presenting your services clearly, and delivering a smooth, professional experience at every step.
Want to make this process even easier? Download my Client Prospecting Pack and Client Onboarding Pack to start converting leads into loyal, high-value clients today!